Set-up your
Artwork.
Our guide for how to set up your print ready artwork for packaging.
- Start by opening the PDF template in Adobe Illustrator.
- Drop in your design to the PDF Artwork Template
- Send it to us as a print ready PDF.
(If you have a graphic designer just send the PDF Artwork template and they can create your print ready artwork)
Using Illustrator - layers
In Illustrator find a document’s layers in the Layers panel (Window > Layers).
- Layers contain the images, text, or artwork that make up a layered file.
- Layers are arranged in a stack in the Layers panel. In the document, content on the layers at the top of the Layers panel appears in front of content on layers that are lower in the panel.
- Layers allow you to move, edit, hide, lock, and work with content on one layer without affecting content on other layers.

Create your artwork in Illustrator
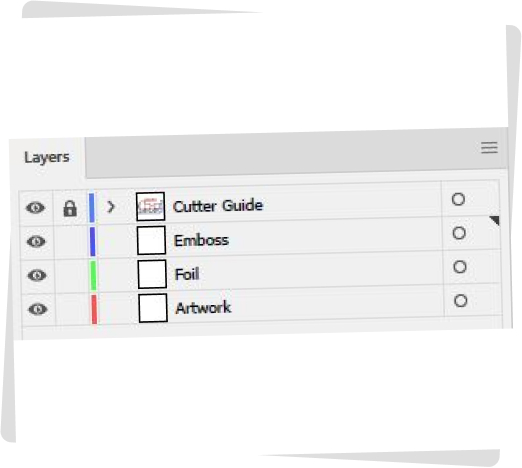
Open the Artwork layer / PDF template directly in Adobe Illustrator or place it as an image (deselect Link).
Label this layer the "Cutter Guide" and lock it, so as not to alter any dimensions by accident. This layer should remain above all other layers. Do not change the size of the "Cutter Guide"- The PDF template / artwork layer is supplied at full size and is used for the production of your packaging.
Next you can create the additional layers for adding your artwork - label this 'Artwork', add additional layers if required for your design labelled; 'Emboss' and 'Foil' as seen in the screenshot above.
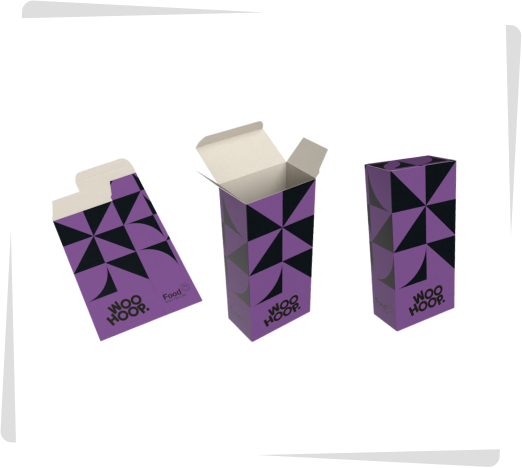
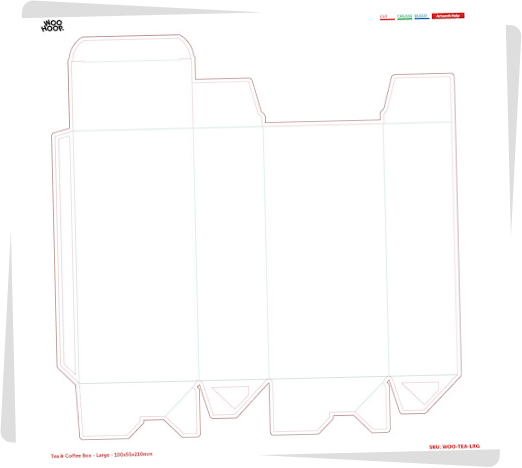
Cutter guide
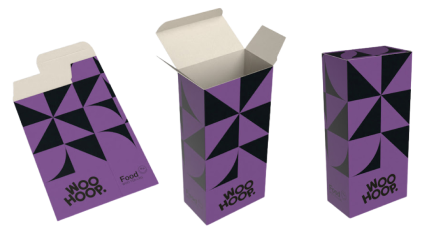
Before designing your artwork, be aware of the panels and which will be 'front' view of your boxes design. The glue edge usually falls to the back edge, giving the face a clean finish.
Setting up Graphic Elements in your artwork
Printing colours - You should set up your colours as we have quoted to print them: black only, CMYK and / or PMS (Pantone®) colours.
The colours used in the "Cutter Guide" layer are set for automatic removal during the ‘ripping’ process and should not be used for any colourisation in your artwork. (These can include: Cut, Crease, Outside Coating, Inside Coating, Form Lines 2, Outside Bleed, Inside Bleed, Partial Cut, Text and Dimensions.)
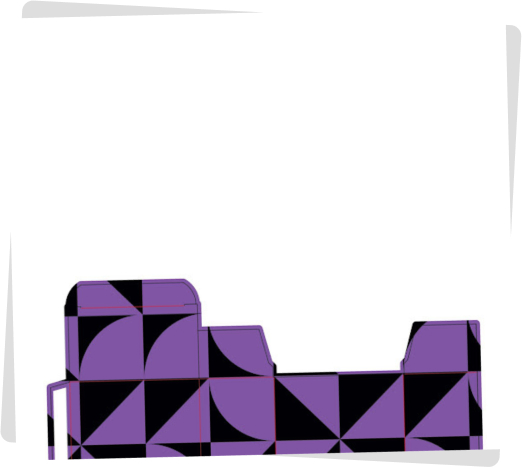
Glue areas - The white areas are for glue finishing and ensures the glue has good adhesion with the material. These areas should be kept clear of printed inks and coatings.
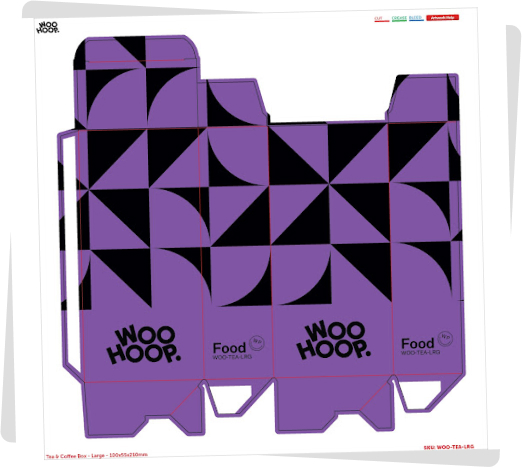
Bleed all backgrounds
- Any element of the design that is to the cut edge should bleed over by 3 mm. It is advised that any colours also bleed onto the glue flap by 3 mm (up to the glue area).
- On a tuck carton, the colour from the lid should cross over to the flaps by 3 mm.
- In the below image, the ‘Black’ lines are the cut/trimmed edge. All artwork bleeds beyond this cut line by 3mm. The artwork also bleeds over the ‘Red’ crease line onto the Glue Flap. This will avoid a white line showing along the edge once glued.

Set up Images
- All images should be no less than 300 dpi (dots per inch) and use the CMYK colour mode for standard process printing, or as a Monotone/Duotone when defined as a Pantone.
- Using RGB is acceptable, but always be conscious of the fact that colours can vary when ‘ripping’ / converting to CMYK for printing.
- Embed the images within Illustrator or InDesign when placing.
Text / Typefaces
- Only use fonts without licensing restrictions.
- Before creating your Print Ready PDF, convert all text to ‘Outline’ or ‘Vector’ to eliminate any font issues during the ‘ripping’ process.
- Avoid small type/point sizes in a multitude of colours such as 'Registration Black', which prints as 100% of all colours CMYK.
- Select all black text to print Black only, and if the design allows it, overprint the text.
- For large black text, a ‘shiner’ should be added to give a solid look.
- Usually 30% Cyan or Magenta.
- Keep text at least 5 mm from any crease and cut edge.
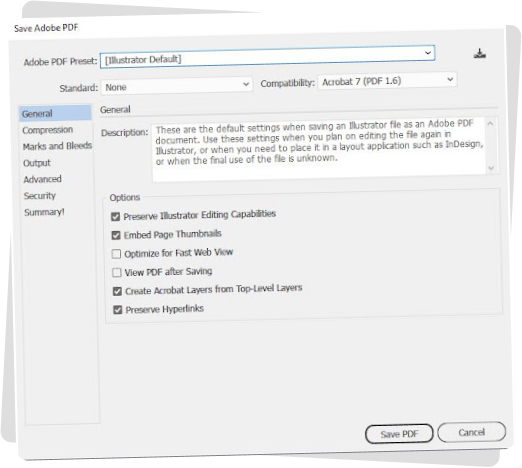
Saving your artwork for print
Save as Print Ready PDF - Use the built-in settings for exporting to a PDF in Illustrator.
Naming Your Artwork - When sending in various versions of your artwork, clearly name each artwork appropriately to avoid any issues with the incorrect versions being printed. For multiple versions it is also helpful to add a version code on the design to help differentiate multiple versions for future reference.
Setting up Special Finishes in your artwork
Special finishes include Embossing, Debossing, Foiling and/or Spot UV.
- These finishes should be set up on a separate layer and as an individual spot colour for each finish and appropriately named, such as Emboss, Deboss, Foil or Spot UV.
- The best practice is to create a layer for each special effect.
- These specials should be set up to overprint.

Emboss / Deboss
- Avoid thin lines on Embossing/Debossing. The minimum width of any line should be greater than the microns of the material being Embossed/Debossed.
- Keep Embossing/Debossing away from crease lines by a minimum of 5 mm.
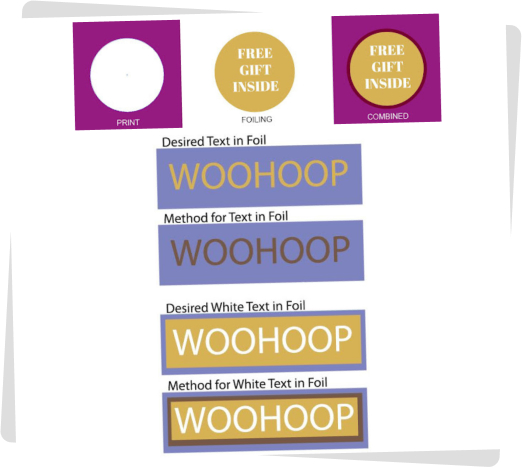
Foiling
- The foiling process involves greater tolerances which should be taken into account when applying.
- Where print shows through the foiling, the text/images should be brought back a minimum of 2 mm.
- When fine/hairlines are used in foiling there is a risk of the lines breaking up.
- The below image shows the desired effect and method. All foiling should be set to overprint.
- For white text out of foil, it is advised to create a white box under the strip of foil to eliminate any show through of colour in the white lettering.